
A recording studio turns raw tunes into polished tracks—it’s a haven where musical ideas mature. Getting the lowdown on studio recording tricks is a must, whether you’re a seasoned pro behind the mixing desk or a musician just starting out. Dive into this no-nonsense guide to learn the core stuff you need to make top-notch sounds.
1. Setting Up Your Sound Space:
- Room Treatment: The acoustics in the space where you record are super important for the sound to come out right. When sound waves hit stuff like walls and windows, they can bounce back and make weird echoes and tin-like sounds. The pros use stuff like acoustic panels, bass traps, and diffusers to make the sound waves behave. But if you’re recording at home, you can use things like blankets, pillows, or foam to deal with those bouncing sound waves.
- Noise Reduction: You gotta get rid of any sounds you don’t want, like the hum from your computer’s fan, the air conditioning, or noises from outside. Making sure these sounds aren’t in your recording is super key if you want it to sound clean and professional.
2. Signal Flow and Equipment:
- Microphones: Picking the right mic is key for top-notch recordings. There are mics for all sorts of sounds and voices. Condenser mics are great at picking up fine sounds and wide frequency ranges. But if you’re dealing with loud stuff dynamic mics are tough and do the trick.
- Preamplifiers: Mic preamps take the mic’s low signal and pump it up to where it’s ready for recording. The quality of the preamp has a big effect on how your recording will sound—think tone and clarity.
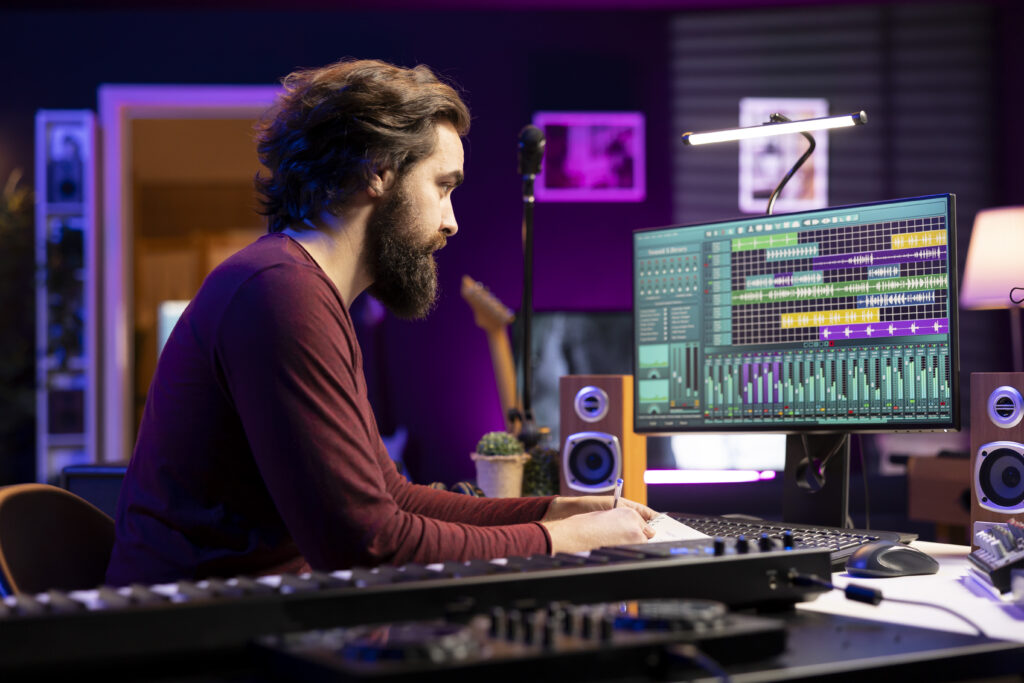
- Audio Interface: You gotta have this gadget. It turns the mic’s analog vibes into digital bits and bytes your computer can work with. Plus, it’s the main spot for plugging in all your recording gear.
- Digital Audio Workstation (DAW): This program lets you record, edit, and mix stuff. Some of the top ones we got are Ableton Live, Logic Pro X, Pro Tools, and Cubase.
- Outboard Gear and Software Effects: You got these cool gadgets like EQs, compressors, reverbs, and delays that make your music sound way better. They come in two types: the physical ones you can touch and the plugins for your DAW software.
3. Microphone Techniques:
- Microphone Placement: You gotta play around to find the sweet spot for the mic for every sound you’re recording. Even tiny tweaks to where you put the mic can make a huge difference. You should think about how far the mic is from stuff, the angle you’re putting it at, and what kind of mic to use.
- Mic Direction Patterns: You gotta know your mic patterns (that’s omnidirectional, cardioid, supercardioid, and figure-8), ’cause this tells you which way your mic is picking up sounds.
- Using Lots of Mics: When you’re dealing with a tricky instrument like a drum set, you often need a bunch of mics to catch all the sounds. You’ve got to align them just right, or else they’ll mess up each other’s signals.
4. Laying Down Tracks:
- Adjusting Input Levels: Keep an eye on how strong your signal is coming in to avoid any nasty distortion but still making sure you get a solid recording. You’ve got to use the meters on your audio interface and DAW to get it just right when you’re recording.
- Recording Pieces One by One: It’s all about recording each part of the music or the vocals one at a time, bit by bit.
- Overdubbing: This practice involves adding more musical parts or performances over tracks already recorded.
- Editing: This step polishes up what’s been recorded cutting out things you don’t want, turning down the background buzz, and getting the beat just right.
- Mixing: It’s all about blending different tracks into one smooth mix messing with volume EQ, tweaking the dynamics, and slapping on effects.
- Mastering: Here’s where the mixed tunes get all spruced up ready for listeners no matter where they tune in from.
5. Creative Techniques:
- Re-amping: This move takes signals that you’ve already laid down and runs them through amps again, to record and give the sound more oomph and personality.
- Room Microphones: Positioning microphones all over the place where you’re recording. You wanna grab the way the room sounds, you know, its vibe and echoes.
- Using “Crappy” Gear: Sometimes you gotta use gear that ain’t top-notch. It can give your sound some cool and different vibes that you just can’t get with the fancy stuff.
- Physical Motion Effects: Move your mics around or change where they’re facing. It’s all about making sounds that change in cool ways without touching your instruments or tech.
Conclusion:
When you’re recording in a studio, it’s all about mixing the smarts of tech with your creative flair. Get these basics down and try out all sorts of stuff. It’s gonna make your recordings sound way better and help you nail those musical dreams.